Sunday, December 15, 2013

A Little Less Than 2 Weeks-Crafts, Dolls and Recipes!

 A little less than 2 weeks before Christmas!

We are almost done with our house renovation.  Unfortunately I can only decorate in 3 rooms this year so I haven't done as much decorating and crafting as I usually do.  I had an hour the other day and decorated some wine bottles.  I HAD bigger plans for them but this year time has completely gotten away from me so I had to settle with just pretty and not really creative and artistic.

This summer we stopped at St. Michael's Winery on the Chesapeake Bay.  I got so many ideas in a little boutique next door.  It was full of beautifully decorated lit wine bottles.  Since it was summer the bottles were decorated with sand, tiny shells and glitter.  I'm going to start saving special wine bottles to decorate this summer.  

A few weeks ago my husband drilled some holes in the back of the bottles.  I bought some single strand white lights at JoAnn's and stuck the whole string inside the bottles.  Then I decorated them.  They are so pretty and festive lit.  Before the season is over I'm going to look for single string battery lights because then I won't have to worry about placing the bottles near a plug. And this summer I can use them outside for decorations on my patio tables.  It sure is hard to think of sitting outside right now!


I have them in 3 different rooms.  This is the one on my bar.


 Here are a few of the snowmen I have made over the years...


 I LOVE my Christmas Mice under the tree...


Now a few dolls 
 Silver and Gold Angels...


My Little Christmas Couple...


Little Sweethearts are everywhere...


Chris' treasures from childhood...


Food Again as always!!

No, this isn't real...


But the Venetian Cookies below are everyone's very favorite Christmas Cookie.  I found the recipe years ago in Good Housekeeping magazine. They take time to make but they are really delicious and special.  They taste like a delicate pastry with the combination of almond paste, apricot preserves and chocolate.  After you've made them once they are really pretty easy.  I have some tips at the end of the recipe that will help.  


venetian cookie bars
Total Time: 1 hr 30 min
Cook Time: 10 min
Oven Temp: 350

Ingredients
U.S.MetricConversion chart
  • 4 large eggs, separated
  • 1 cup(s) sugar
  • 1 can(s) (7 to 8 ounces) almond paste
  • 1 1/4 cup(s) (2 1/2 sticks) margarine or butter, softened
  • 1 teaspoon(s) almond extract
  • 2 cup(s) all-purpose flour
  • 1/4 teaspoon(s) salt
  • 20 drop(s) red food coloring
  • 20 drop(s) green food coloring
  • 1 jar(s) (12 ounces) apricot preserves, strained
  • 4 1-ounce squares semi-sweet chocolate, melted

Directions
  1. Preheat oven to 350 degrees F. Grease three 15 1/2- by 10 1/2-inch jelly-roll pans;* line pans with waxed paper, allowing waxed paper to extend over ends of pans. Grease and flour waxed paper.
  2. In small bowl, with mixer at high speed, beat egg whites with 1/2 cup sugar until stiff peaks form; set aside.
  3. In large bowl, with same beaters, and with mixer at medium speed, beat almond paste and remaining 1/2 cup sugar until well blended (there will be some small lumps of almond paste remaining). Reduce speed to medium-low; beat in margarine or butter until blended. Beat in egg yolks and almond extract until blended. Reduce speed to low; beat in flour and salt just until combined.
  4. With rubber spatula, fold egg-white mixture into almond mixture, one-third at a time, until combined.
  5. Remove one-third of batter (about 1 1/2 rounded cups) from large bowl to small bowl. Remove half of remaining batter from large bowl to another small bowl. (You should have equal amounts of batter in each bowl.) Stir red food coloring into 1 bowl of batter until evenly blended. Repeat with green food coloring and another bowl of batter.
  6. Spread white (uncolored) batter in 1 jelly-roll pan. With metal spatula (offset, if possible), spread batter as evenly as possible (layer will be about 1/8 inch thick). Repeat with red batter and another pan. Repeat with green batter and remaining pan.
  7. Bake layers 10 to 13 minutes, rotating pans halfway through cooking time, until layers are just set. It is important to undercook this batter slightly to ensure moist cookie layers. (If you don't have enough oven space for 3 pans, you can bake 2 layers at once, then bake the last layer separately.)
  8. Let layers cool slightly in pans on wire racks, about 5 minutes. Invert layers onto racks, leaving waxed paper attached; cool completely.
  9. When all 3 layers are cooled, remove waxed paper from green layer. Place green layer on serving tray or platter; spread with half of apricot preserves. Place white layer on top of green layer, waxed-paper side up; remove waxed paper. Spread with remaining apricot preserves. Place red layer on top of white layer; remove waxed paper.
  10. With serrated knife, trim edges (about 1/4 inch from each side). Spread melted chocolate on top of red layer (not on sides); refrigerate until chocolate is firm, at least 1 hour. If you like, after chocolate has set, cover and refrigerate stacked layers up to 3 days before cutting and serving.
  11. To serve, cut stacked layers lengthwise into 4 strips. Cut each strip crosswise into 12 small rectangles. Store cookies in tightly covered container, with waxed paper between layers, in refrigerator.

Tips & Techniques
*If you have only 1 jelly-roll pan, you can still make this recipe. Just bake layers 1 at a time, and be sure to let pan cool completely before reusing.
My tips:  Bake them in the small foil rectangle pans from the Dollar Store.  There are 2 to a pack so they are 50 cents each.  The batter fits perfectly in these pans and then all you have to do is throw them out after.
Use a silver knife to spread the batter.
I use my Cuisinart to help blend the almond paste and sugar because it is very lumpy.
Bake 8 minutes first and then keep checking because they bake very quickly.
They store well.  I keep all of my cookies closed tightly on the upper landing of my garage outside my backdoor in the "mud room".

Read more: Venetian Cookies - Good Housekeeping


See you soon!!  


Sunday, December 8, 2013

It's Almost Christmas!


It's getting close!!
  The wreath is on the door.  It's been modified a few times but I think I'm satisfied with this for now!


The counter is decorated...


The Hutch is ready...


I love the curly pointsettias - they look so festive...


Silverbells is over...

 
It was so much fun!  Hayrides, letters to Santa...


Face painting...


And not just for kids...
  

 Button making...


At dusk the tree and stage were lit.  Carolers came...


Then two special elves helped all the kids meet Santa...


Meanwhile, at home we're busy planning the Christmas cookie menu...


All of us...


These are the cookies the dolls and Nutcrackers make.


All the yummy treats!


But they're not real!!  I (Kristen) hasn't started baking yet!!  Here is the first cookie we'll be making.  Sue's sugar cookie recipe.  I have tried so many I can't count.  But after we tried these they were the keeper.  The secret is the nutmeg.  It just makes them taste so good.


Pretty Lisa, Happy Birthday this week!  Save some energy for your party!!


Be back soon...


Thursday, November 28, 2013

Happy Hanukkah!


Every Hanukkah Mrs. Goldberg bakes apple cakes for her friends at her Temple.  She saves the best one for her two favorite Rabbi's. 


She wraps the cake in festive paper, ties it with a bow and heads for the Jewish Home for the Aged.  Almost every afternoon Rabbi Shapiro and Rabbi Bettelheim can be found in the big recreation room kabitzing.


Tonight and for the next 7 nights the Rabbis will have a piece of apple cake with their glass of Manischewitz and give thanks for their families, the wonderful lives they've led and their friendship.


Shalom!

Sunday, November 24, 2013

Sharing Happy Thanksgiving Thoughts!

HAPPY THANKSGIVING!

Come on in!!


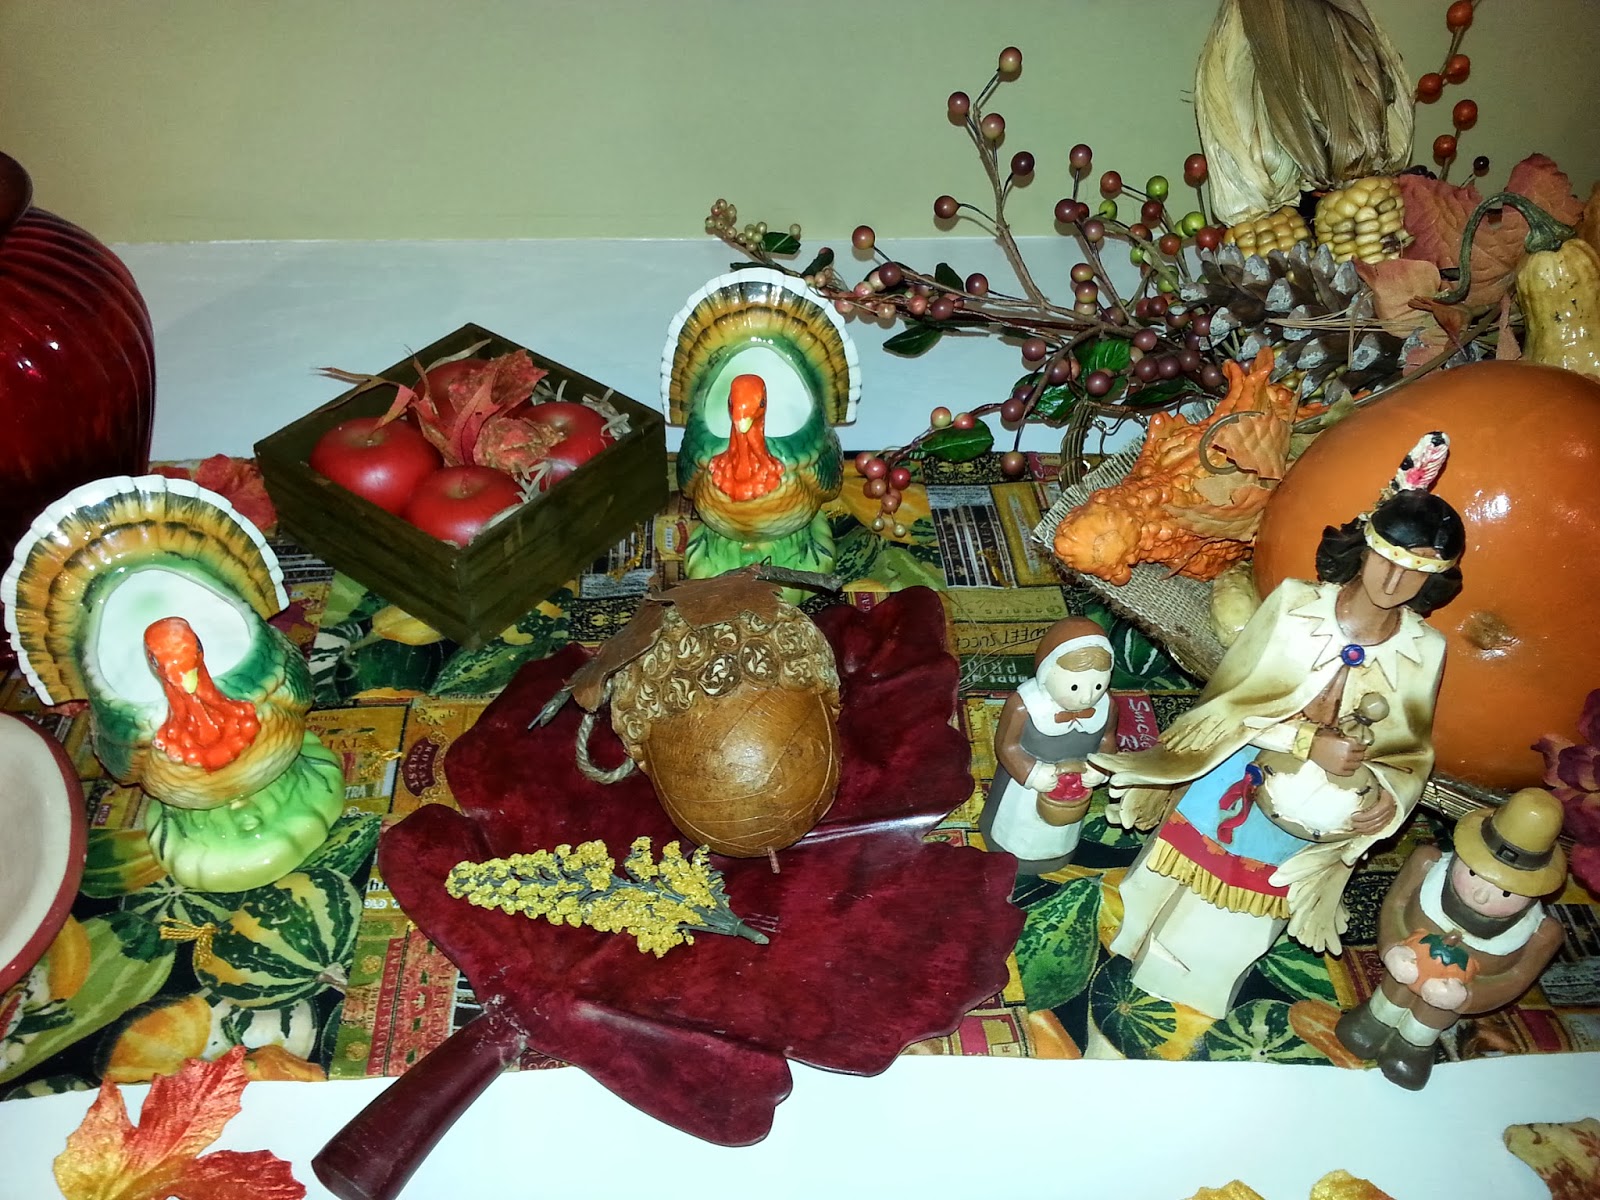
I'm all decorated with all my turkeys-live and fake!!


Have a seat...


I do not like to think of myself as a  "traditional" lady.  I like to think I am an "outside of the box" girl BUT when it comes to holidays I go as close to tradition as the Easter Bunny, the Wicked Witch, the Pilgrims, Mrs. Santa, etc.  You get my drift...  

Every year for many years I was in search of the perfect chestnut recipe.  I tried just about everything and had some real disasters.  Then, a few years ago I came across a recipe that I liked and stuck with it.  Here it is:

Soak the chestnuts in a bowl of water for about an hour.  Take them out and pat them with a paper towel to get off the excess water. Cut an X in the middle of the flat side.  Place them in a baking pan and bake at 400 degrees for about 15-20 minutes.  You can tell when the're done because the cut edges will curl a little.  If you are adventurous, when they come out of the oven sprinkle them with red wine.  I like to serve them warm as an appetizer with drinks so I make them a little before and allow enough time for them to cool before eating.  If you make them ahead of time, wrap them in foil and put them in the oven with the turkey for a little while to warm them. 


The chestnuts will be served in this turkey basket.


Now,  let's talk Turkey!


I came across this post in my Craft Gossip email last week.  I think it's useful and I'm keeping it out for the big day.  If I'm not too frazzled maybe I'll use some of these great tips!

5 TIPS FOR A JUICY TURKEY

by PRINCESS LACEY on NOVEMBER 21, 2013| 569 Pageviews
turkey2
1. Butter it up: Rubbing butter under the skin will help baste and keep in flavor with the turkey is roasting
2. Show it off: Opposite of what you might think..don’t cover your bird while roasting. When you cover it it steams the meat and makes the fibers tough.
3.On the flip side: Cook the turkey with the breast side down for at least the first half. This way the breast is getting more of the juices.
4. No Poking:  Resist the urge to slice it open to see if it’s ready. Piercing the meat will release juices. If you need to flip it over do it without piercing it.
5. Patience is Key: After the turkey is done let it rest outside of the oven for at least 30 minutes before carving it. Put foil over it to keep it hot. This way the juices get to settle in and prevent them from escaping when it’s sliced.
During the month of November this wall hanging is on the inside of my front door.

Happy Thanksgiving Everybody!!  Christmas is around the corner!!!  Just the blink of an eye...


Don't stress the small stuff over the holidays.  It could be worse.  You could have the room where your family lives demolished with no idea how to put it back together!!!  With all of our house renovations through the years I can honestly say we always had a memorable holiday with lots of love and good food so I guess you can "weather" anything as long as you are with your loved ones...


 I'll keep you posted!!


Thursday, November 7, 2013

Leaves, Leaves and More Leaves!

Halloween week the foliage was at it's peek in New England and it was beautiful.  Two weeks later the leaves are falling fast and we're not so happy about raking...


UNLESS

you're Prince Flip Johnson!  He loves to go outside, play in the leaves and watch his mom and dad tend  their beautiful yard.


Here are some fun ways to bring some leaves indoors.

  This fabric leaf is traced from the leaf pattern below.  I found it on the Internet but you can trace a real leaf or leaves for different shapes.  


Cut out the leaf  pattern leaving extra fabric around the pattern and sew on the trace line.  Trim seams and clip corners.  Turn inside out.  Use an accent color to machine sew veins on the leaves.  I like to use 2 different fabrics for the top and bottom.


Here's another idea

 These jars are so decorative with faux votive candles.  Choose real leaves that are not too dried out and crinkly.  Glue them on Mason Jars (Walmart has tons of them this time of year) using Mod Podge or Gesso .  Let dry.


Now treat yourself!!

  I needed a quick dessert for a party and asked my friend Kim if she had any ideas.  I was amazed when she remembered she had tasted this pumpkin dip at a party and never forgot it!  I should have known better because she saved my daughter Kristen this summer when she had to find a recipe for a camp bake sale.  Kim thought of making easy easy "to die for" Oreo Truffles.  Stay tuned, she promised to share some Christmas recipes.  If they are anything like this dip we are all in for a treat!


This is the easiest recipe I have ever made!  I've made it twice so far and will make it again before the season is over!

1 can pumpkin 
1 package Jello Instant Vanilla Pudding mix
1 teaspoon pumpkin pie spice (I added a little more for extra flavor)
1 16 oz. container of Cool Whip

Mix pumpkin with dry vanilla pudding mix.  
Add Pumpkin Pie Spice
Fold in the whole container of Cool Whip.
Refrigerate.

I carved out a small pumpkin and filled it with the dip to make it look festive.  Dip with Ginger Snaps, Graham Crackers, fruit or use  your imagination.  Decorate with Candy Corn and a few spiders.  A 16" disc from I-Party (under$1) and covered with black and orange tissue paper served as a tray.

Back soon!!